How to Install Roof Christmas Lights
Hanging lights along your roofline is one of the most eye-catching ways to transform your home for the holidays. But while it might look simple, installing Christmas lights on a roof requires the right tools, safety measures, and techniques to achieve a clean, professional look—and avoid costly mistakes.
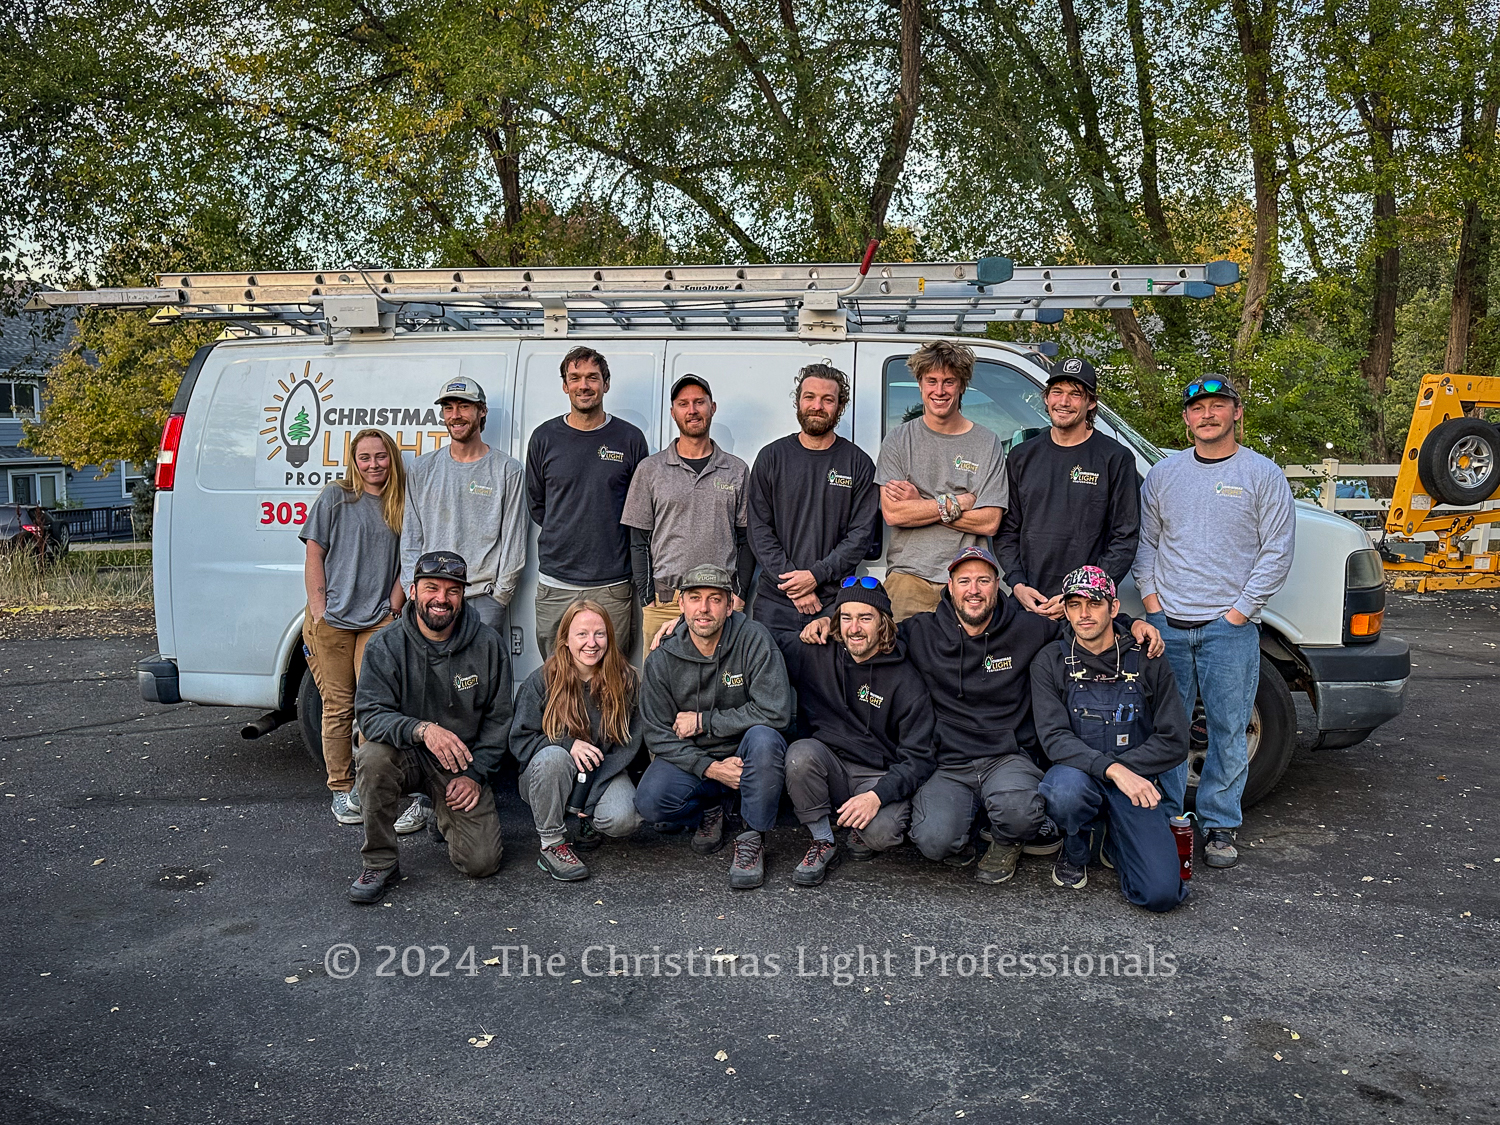
We spoke with Vance, owner of a company that’s handled thousands of Christmas light installation projects over more than 36 years, to break down how professionals do it. Here’s what you should know before climbing that ladder.
1. Planning Is Key When Installing Christmas Lights on The Roof
One of the biggest mistakes homeowners make is rushing into installation without a clear plan. Christmas Light Professionals always begin by mapping out the design.
“We don’t just show up and start hanging lights,” Vance explains.
“We measure the roofline, create a drawing, and make sure everything fits the house before we climb.”
Before you start:
- Measure your roofline (including peaks and dormers)
- Choose where your power source will be
- Decide how many strands you’ll need
- Pick the light style and color (warm white, multicolor, or programmable RGB)
Pro tip: Sketch a quick diagram of your roof and mark where each strand will go. This prevents gaps, uneven spacing, and extra cords hanging in visible areas.
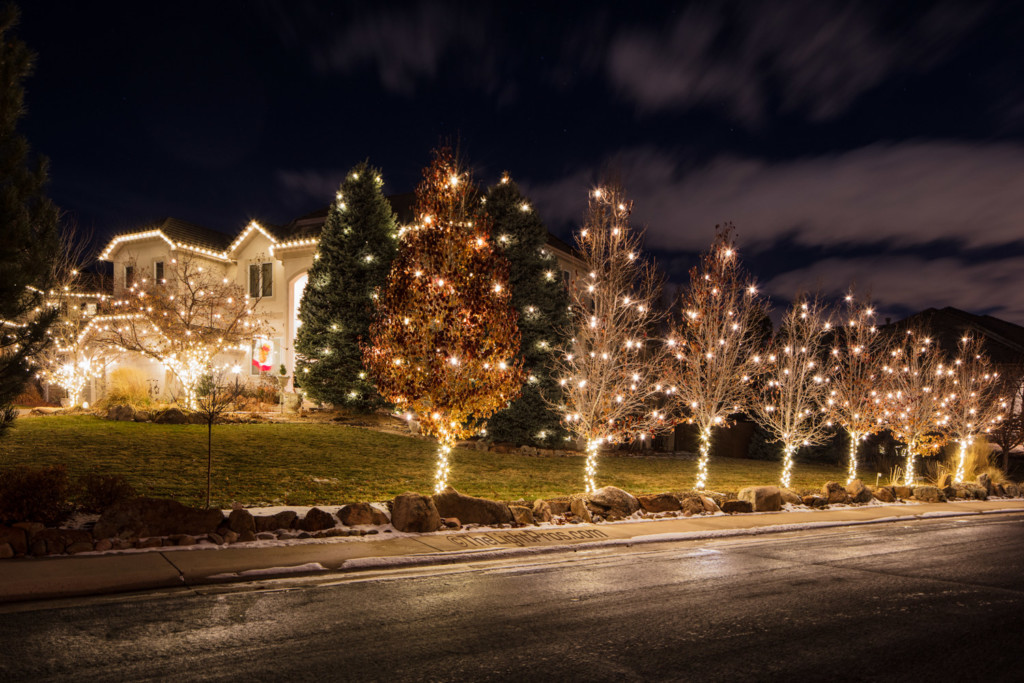
2. Choose Commercial‑Grade Lights for Better Results
Homeowners often use retail light strings from big‑box stores, but these are harder to work with and less durable.
“The stuff you get from Walmart or Home Depot is usually fixed‑length. If you cut it, it stops working,” says Vance.
“With professional‑grade products, we cut the line to the exact length of the roof.”
Commercial‑grade lighting is key for a clean, intentional look. Pros custom‑cut light strings and build extension cords with male and female connectors, so there’s no excess slack or tangled wires. They also match the cord color—black, green, white, or brown—to your trim for a seamless finish.
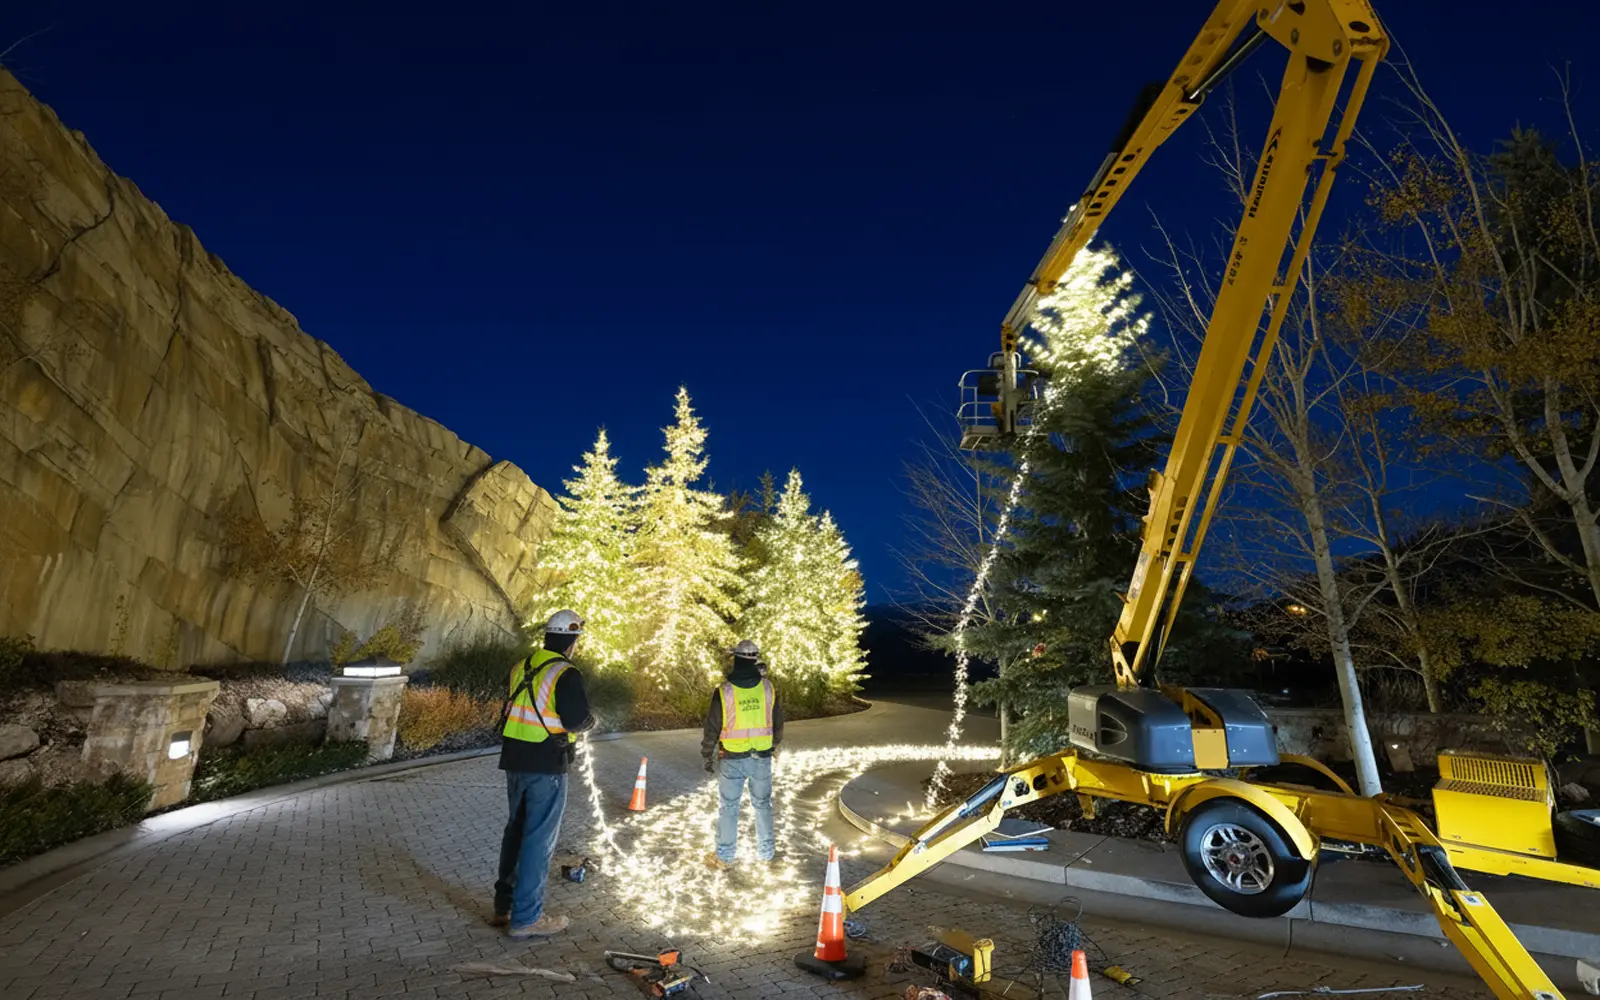
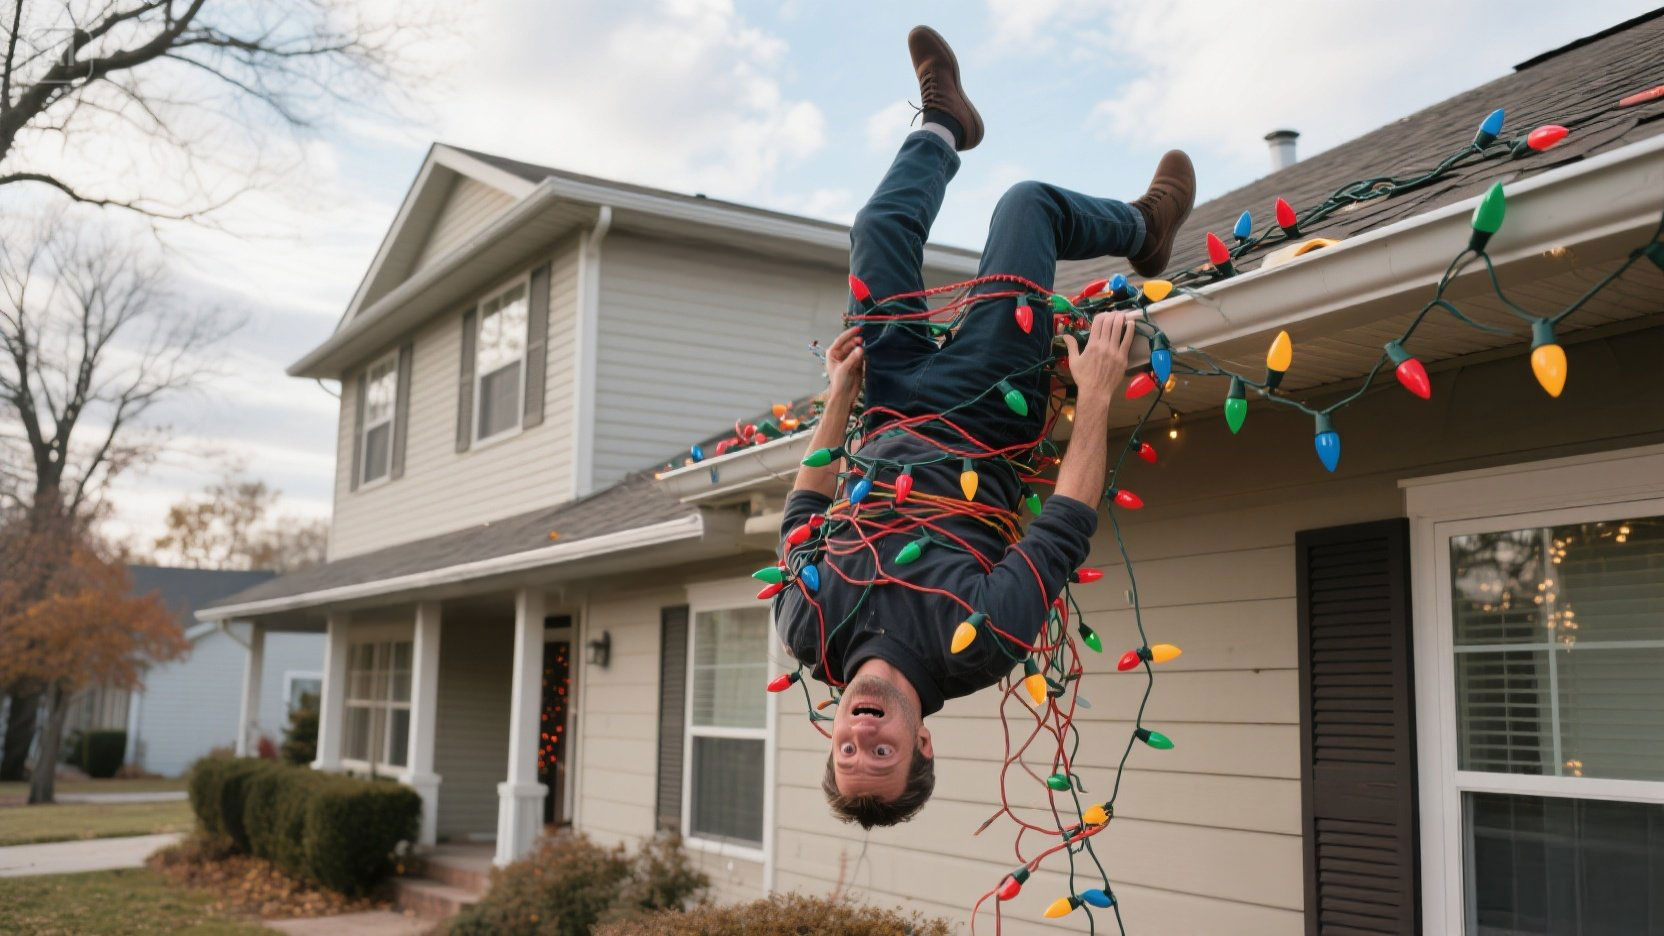
3. Use the Right Tools and Safety Equipment
Safety should always come first when installing Christmas lights on a roof. Most homes today are taller than they used to be, often reaching 30–40 feet, and climbing without proper equipment is risky.
Professional crews use:
- Extension ladders up to 40 feet with automatic levelers
- Ladder hooks that secure to gutters
- Roof‑walk pads for steep pitches
- Harnesses and ropes for tie‑offs
- Specialty clips for shingles, gutters, and downspouts
“I’ve seen people staple lights into shingles,” Vance warns.
“That causes leaks. We know exactly which clips to use and where—because we’ve done thousands of installs.”
If you’re not confident on a ladder or don’t have the right gear, hiring a professional is far safer and often faster.
4. Follow a Step‑by‑Step Roofline Installation Process
Here’s how professionals approach xmas lights roof projects:
- Step 1: Prep your materials – Untangle and test all lights on the ground.
- Step 2: Start from the power source – Begin installation closest to an outlet to minimize cord length.
- Step 3: Clip, don’t staple – Use the correct clips for shingles, gutters, or fascia. Each bulb should face the same direction for a sharp, uniform look.
- Step 4: Secure the corners – Pay attention to roof peaks and transitions for straight lines and smooth turns.
- Step 5: Hide cords and connections – Use waterproof connectors and keep them tucked away to avoid exposure to snow and moisture.
5. Common DIY Errors in Christmas Light Installation
Vance has seen countless DIY mistakes that lead to damage or poor results. The most common errors include:
- Using staples: They damage shingles and can cause leaks.
- Overloading circuits: Plugging too many strands into one outlet can trip breakers or create fire risks.
- Improper adhesives: Glues used on stucco or delicate finishes can cause expensive damage.
- Uneven spacing: Without planning and measuring, lights can sag or look crooked.
“We’ve fixed jobs where someone glued lights to stucco—and when they pulled them off, it left holes,” Vance says.
“We’ve seen lights stapled through shingles. It’s not worth the risk.”
6. Maintenance and Troubleshooting Tips
Even with perfect installation, winter weather can cause issues. Snow slides, heavy winds, or playful kids can knock lights loose. That’s why professionals often include maintenance in their service.
“If a section goes out or snow takes lights down, we come back and fix it,” Vance notes.
“Sometimes it’s just a tripped GFCI—we know exactly where to look.”
If you’re doing it yourself:
- Check for tripped outlets or GFCI resets if lights stop working
- Inspect clips after heavy weather
- Replace individual bulbs if possible instead of entire strands
7. Consider Hiring Professionals for Outdoor Roof Lighting
While DIY is possible, professionals bring specialized tools, safety gear, commercial‑grade products, and years of experience to the job. They also ensure your outdoor roof lighting is balanced, intentional, and built to last all season.
“We can finish a roofline in an hour that might take a homeowner all day,” Vance says.
“It’s not that it’s easy—we just know what we’re doing.”
Hiring pros also means your display will be repaired quickly if issues arise, and everything will be safely removed and stored in January.
Let Your Roofline Shine the Right Way
A beautiful holiday display starts with a well-planned and carefully executed Christmas light installation. Whether you tackle it yourself or hire professionals, proper planning, the right tools, and safe techniques are key to stunning results.
If you want your lights to look sharp, last all season, and avoid the risks of climbing ladders in the cold, consider calling the experts. They’ll save you time, reduce hazards, and deliver a result that makes your home shine all season long.