How to Install Christmas Lights Correctly on Different Surfaces
Installing Christmas lights the right way takes more than a ladder and strands. A durable, safe, and attractive display depends on how well you adapt your approach to different materials—from rooflines to trees. The wrong clip, method, or pressure can lead to damage or poor results.
While many homeowners rush to hang lights wherever they’ll stick, the Christmas Light Professionals team approaches each surface with the right tools and techniques, proven by many years of experience in installing Christmas lighting in Utah, Colorado, and Idaho.
Preparing Different Surface Types
Before installing, identify what you’re working with: shingles, gutters, stucco, siding, brick, or trees. Experts prepare differently for each situation, adjusting their gear and methods as needed.
Damage from untrained installers is common, especially when people use glue, nails, or random clips.
Lights stapled through shingles as a shortcut often cause expensive roof damage or lead to leaks after the season.
To avoid this, professional teams rely on mounting equipment designed for specific surfaces—and they never force materials to work where they don’t belong.
Christmas Lights on Rooflines
For homes with pitched roofs and asphalt shingles, the crew carefully places lights without driving anything into the roof.
The Christmas Light Professionals team fits the clips under the edge of the shingles or attaches them to the gutter. The goal is a uniform, damage-free install with all bulbs facing the same direction.
Other roofline practices include:
- Measuring everything beforehand
- Planning installs from the power source outward
- Prioritizing safety—especially on steep or multi-level roofs
Mounting on Walls and Trim
Without going into technical details about fastening to plaster or brick, one thing remains clear: professionals avoid adhesives and destructive fasteners.
Installers have seen glued lights on stucco that, when removed, left visible holes or pulled off the finish.
Surface-sensitive materials (like textured stucco or finished trim) require extra care. Professionals avoid damaging finishes or altering structures. Instead, they use removable clips and secure anchor points—never nails or adhesives that leave permanent marks.
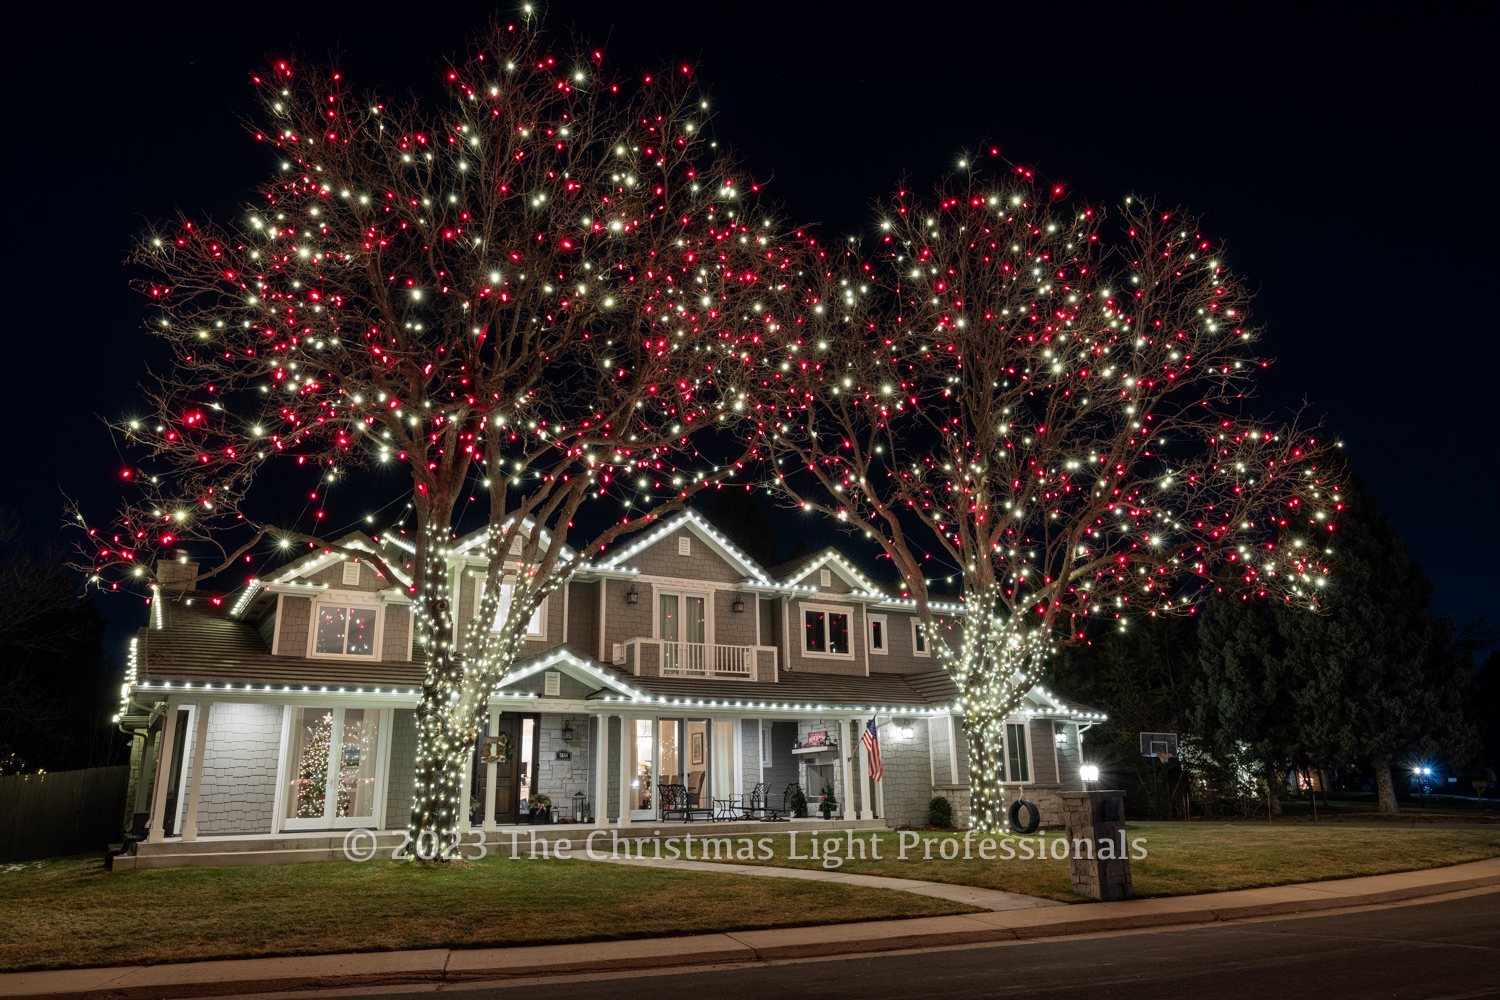
Lighting Trees and Landscape Features
Lighting Christmas trees, especially tall ones, requires special planning. Christmas Light Professionals have worked on everything from small ornamentals to massive 90-foot installations.
It is impossible to install lighting on an 80- or 90-foot tree using a six-foot ladder. Crews use lifts, full teams, and precise planning to ensure complete coverage and safety.
Unlike rooflines, lighting trees involves a looser, layered wrapping style—but it still requires a clear design layout.
What Not to Do
Common DIY mistakes include:
- Stapling into shingles or fascia
- Using glue or caulk on siding or stucco
- Overloading extension cords or drawing too much from one outlet
- Hanging lights loosely or without a clear pattern
These issues can cause safety hazards, permanent home damage, or poor visual results.
One Surface at a Time
Every home is different, and each surface has its quirks. Christmas Light Professionals never approach jobs with a one-size-fits-all mindset—they adjust tools and techniques to match the surface and conditions.
Although DIY installation is possible, results often fall short. Knowing how to install Christmas lights correctly can be the difference between a cheerful display and an expensive mistake.
Whether you’re hanging from gutters, outlining windows, or wrapping towering trees, take your time, use the right equipment, and treat each material with care.